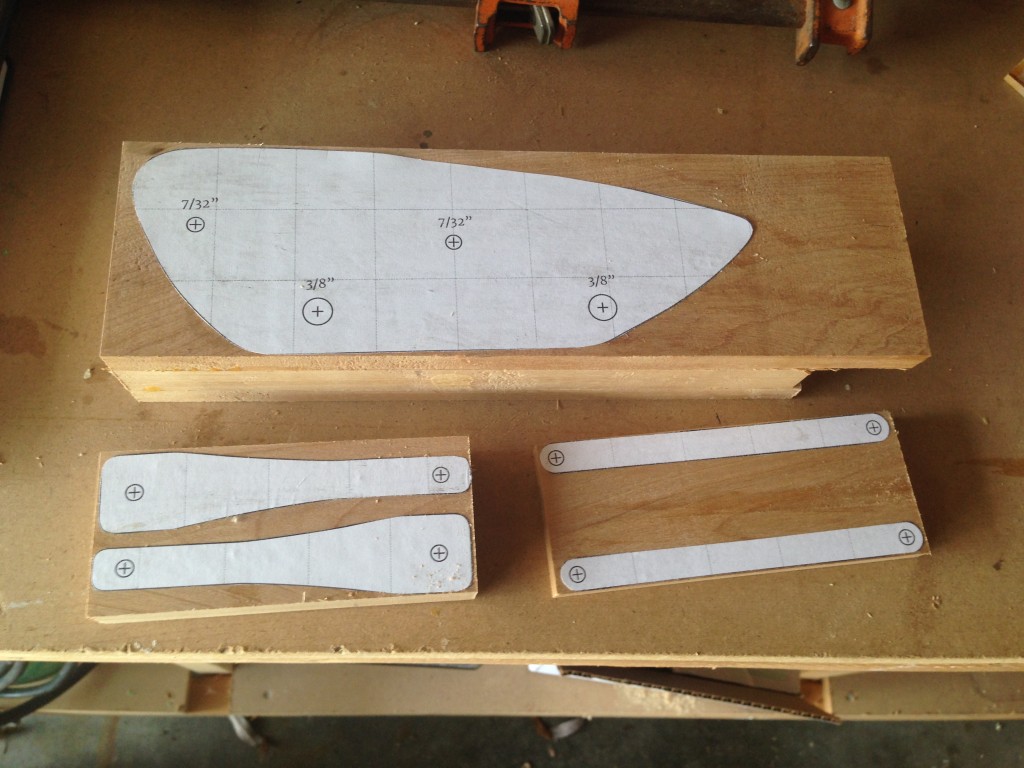
As soon as the weather warmed up enough to move the car out of the garage, I wanted to get started on a new woodworking project, and this grasshopper pull toy project from The Wood Whisperer looked like a fun one to make for my daughter.
I started by gluing up some scrap to make the body, since I don’t have much wood around here that’s thicker than 3/4″.
I planed that block down to 1 3/4″ and planed some other boards to 11/16″ and 3/8″ for the legs.
I rough-cut the parts using a jigsaw:
And then sanded them down to size using a belt sander clamped to my workbench upside-down bench sander.
I chamfered the edges of the body and sanded the edges of the legs to remove any sharp corners.
After ordering some wheels and pegs from a hobby shop, I had a working dry-fit. I needed to modify the length of the rear axle because the wheels I bought are a little wider than the middle legs, resulting in the rear legs getting stuck on the wheel each time they went around.
I wanted to add some color to the grasshopper body, so I tried using some semi-transparent green stain, but it came out blotchy and very faint. If I did it again, I’d either do a glossy green paint on the body or stain the entire toy with a normal wood stain.
I originally stained the wheels green too, but my wife commented that it might look better if the wheels weren’t the same color as the grasshopper to give the illusion that the legs are moving separate from the wheels. As per usual, she was right.
A few googly eyes and a string completes the package. It’s ready to be pulled!


I made one :)
Any pictures? How did it go?